Custom Entry Forms
You can access this feature under Manage Event > Custom Entry Form.
If event is not already selected. A select event popup will appear. If not select it from the Blue Select Event section above.
info
App Mandatory Fields cannot be modified. They are automatically toggled based on Event Features settings.
Custom Form Options
On this page, you have the following Form Inputs:

- Text Input - A simple input box to collect plain text information from the user.
- Checkbox - A box that the user can check or uncheck to indicate a binary choice, such as yes/no or true/false.
- Price Option - A checkbox option with a price attached. When selected, the item price is added to the total.
- You can also allow multiple quantities.
- Radio Selection - A set of options where the user can select only one. Unlike checkboxes, radio buttons are mutually exclusive; selecting one option will automatically deselect any other selected option in the group.
- Plain Text - Use this to add disclaimers or other text to the form.
- Heading - Useful for dividing your form into sections.
- Rich Text - Allows adding formatted text (Bold, Italic, Links, etc.).
- Note: This option can be finicky. Editing this field later might mess up the formatting. It's a good idea to keep a copy in a Word document.
Adding a Custom Form Option
- Click on the button of the form field you want to add.
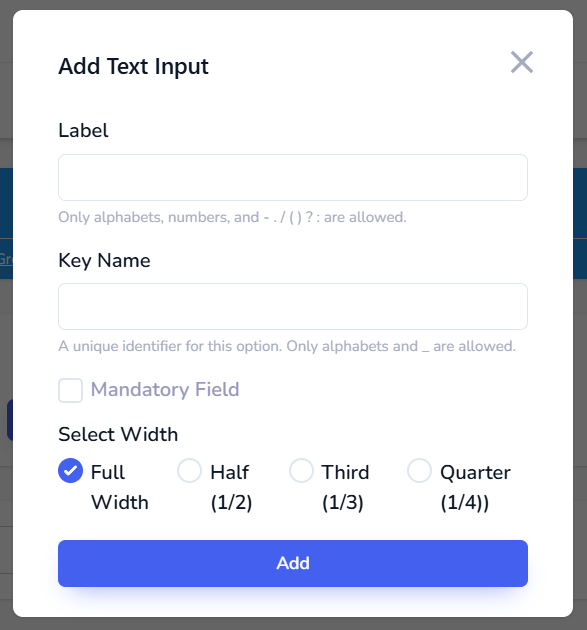
- A popup will appear with the following details:
- Label: The label visible to the user.
- Key Name: A unique identifier for the field for export purposes. Keep it short.
- Mandatory Field Checkbox: To make this field mandatory.
- Select Width: The width of this section on the page. Default is Full Width.
- Add Options (Only for Radio Option): To add a list of radio buttons.
- Click the "Save Form" green button at the bottom to publish the form.
Copy from Other Events
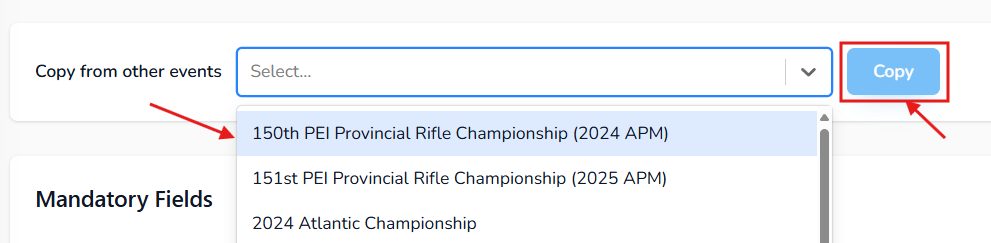
Often, a club has a specific form for all their events. This option allows you to copy a custom form from another event without redoing the work.